How do I get started with Financial IQ Personal?
Create a free account and add one bank statement to see your month. Then tell it what comes in, what you owe and what the household costs. Those three steps take about 10 minutes and show you where you stand each month.
For anyone · 6 steps · Free · No card details · Example figures · Last checked 6 November 2026
Open Financial IQ Personal
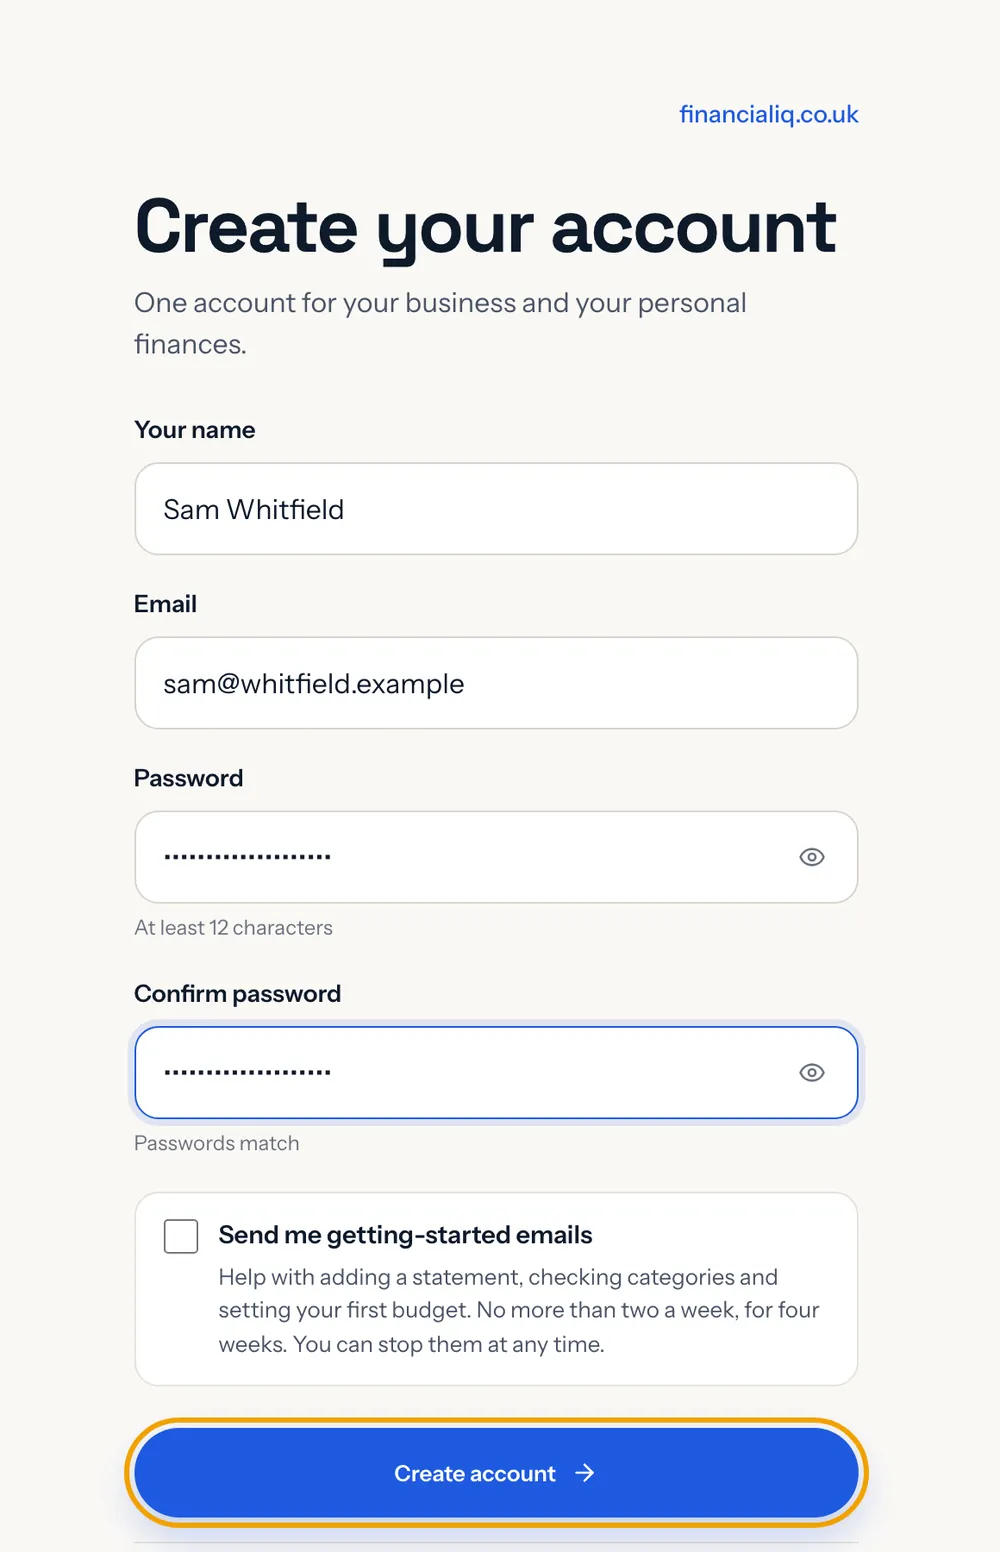
If you're new, press Start free on our website. Enter your name, your email address and a password of at least 12 characters, then press Create account. You don't need a card.
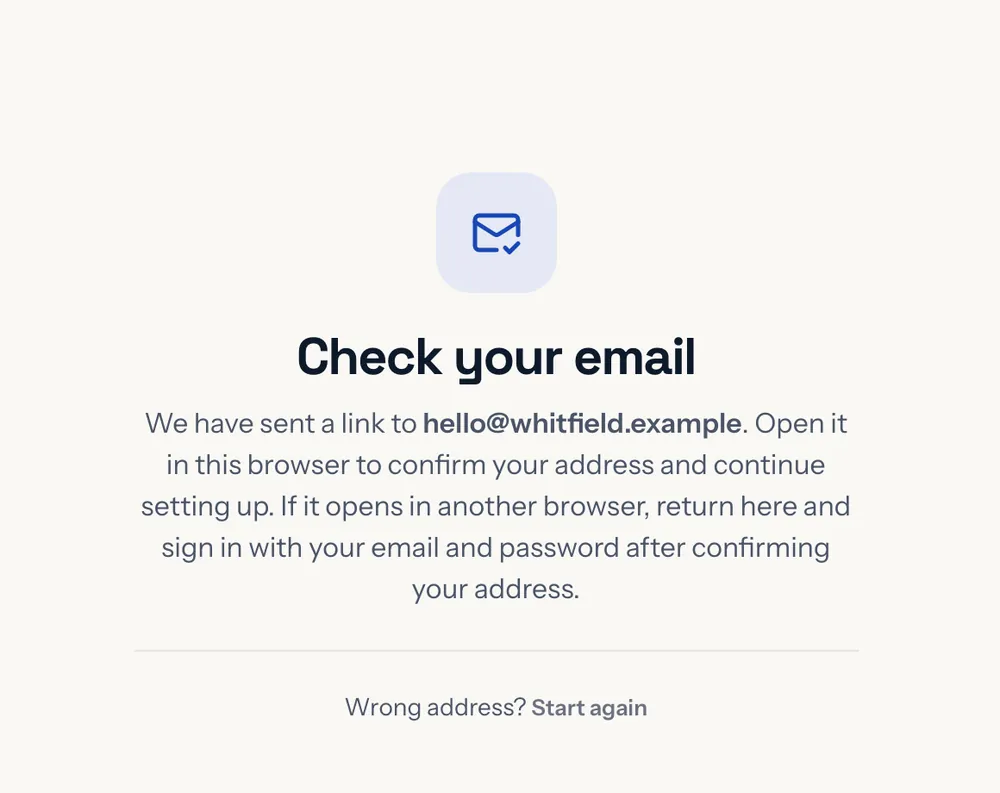
We email you a link. Open it in the same browser to confirm your address and you go straight to the first screen in step 2.
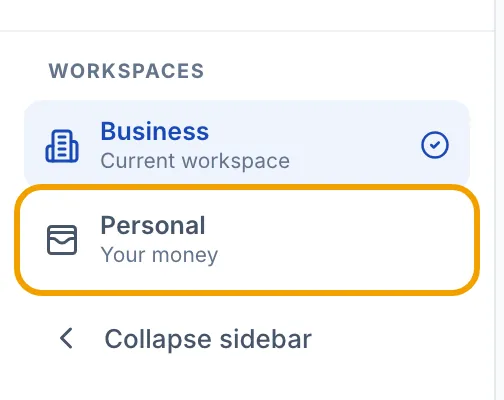
If you already use Financial IQ for your business, log in and press Personal under Workspaces at the bottom of the left-hand menu.
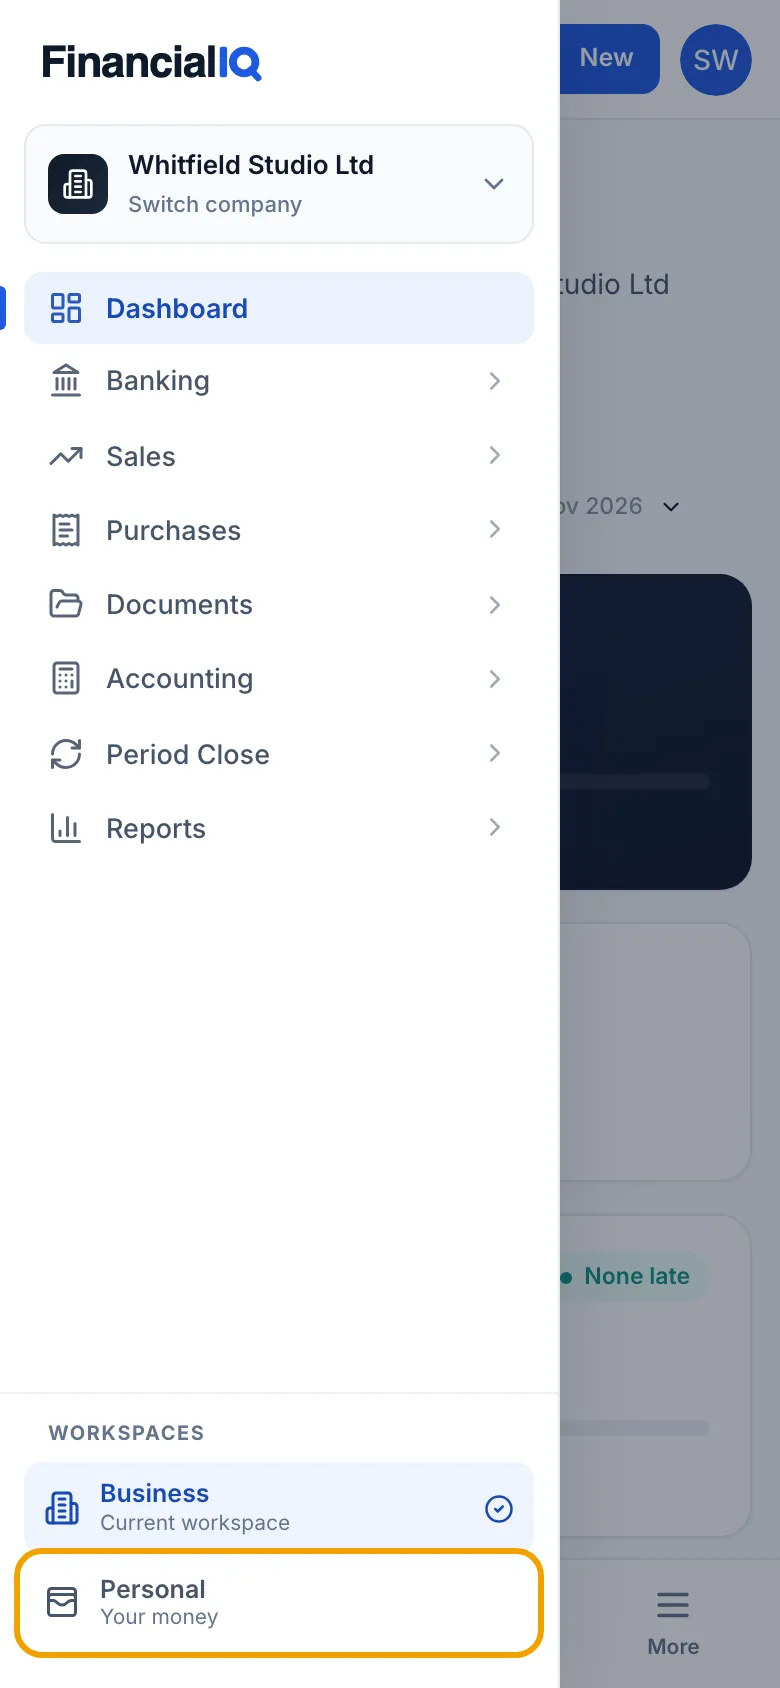
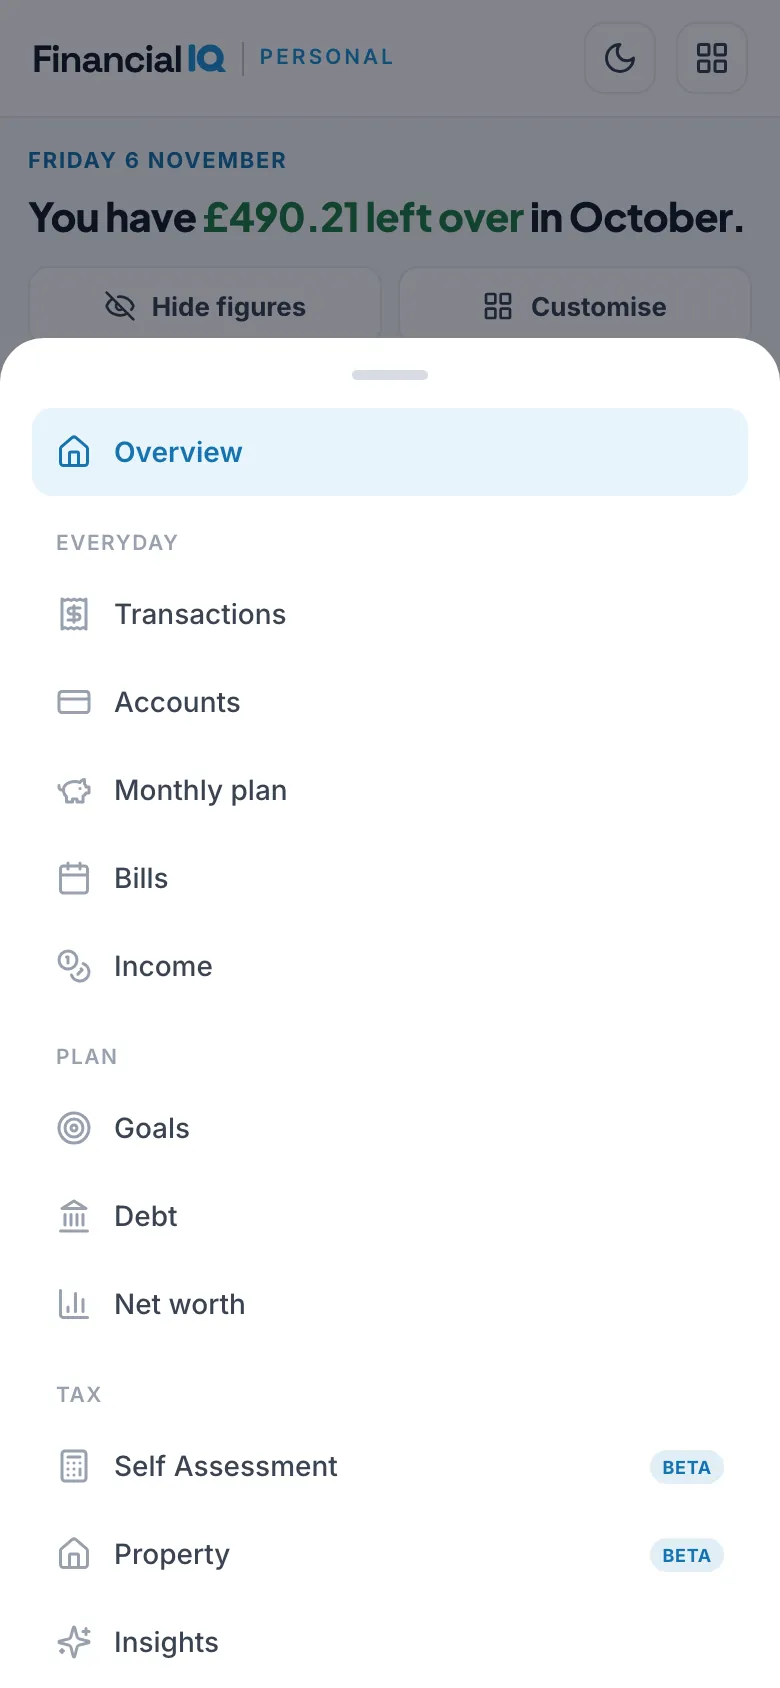
On a phone, the left-hand menu is behind the menu button. Workspaces is at the bottom of it.
If you own or manage a company on Financial IQ, you may be asked to set up two-step sign-in first. Follow the steps on screen and you will then see Workspaces.
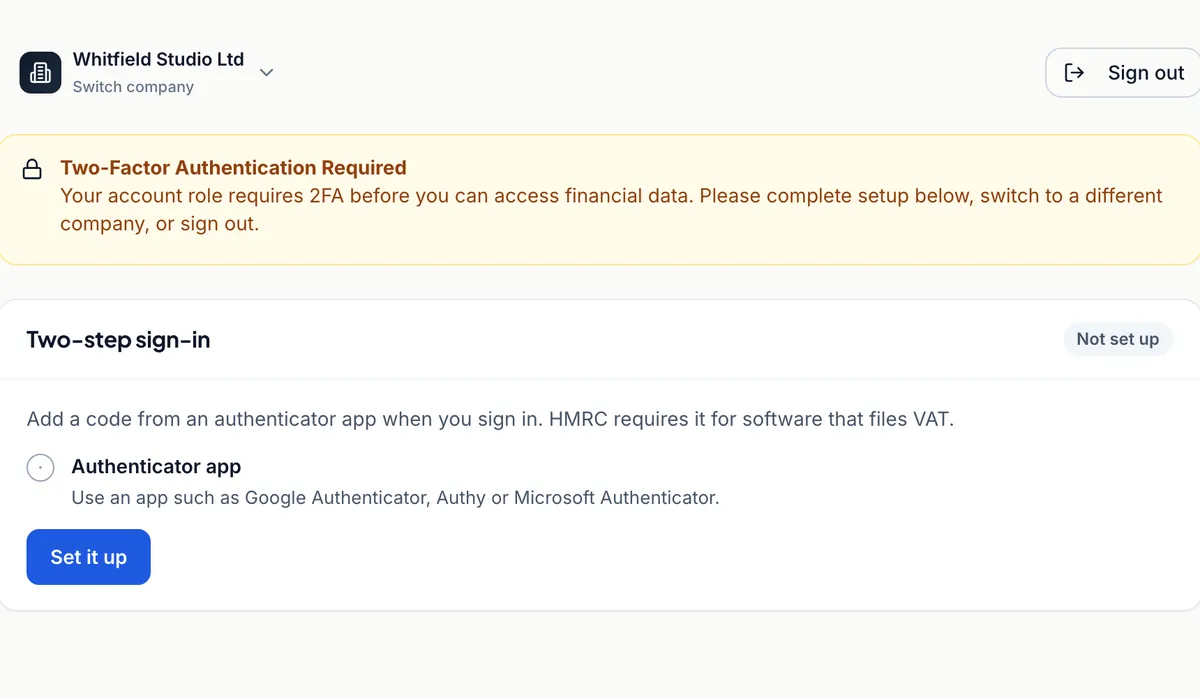
Upload a bank statement
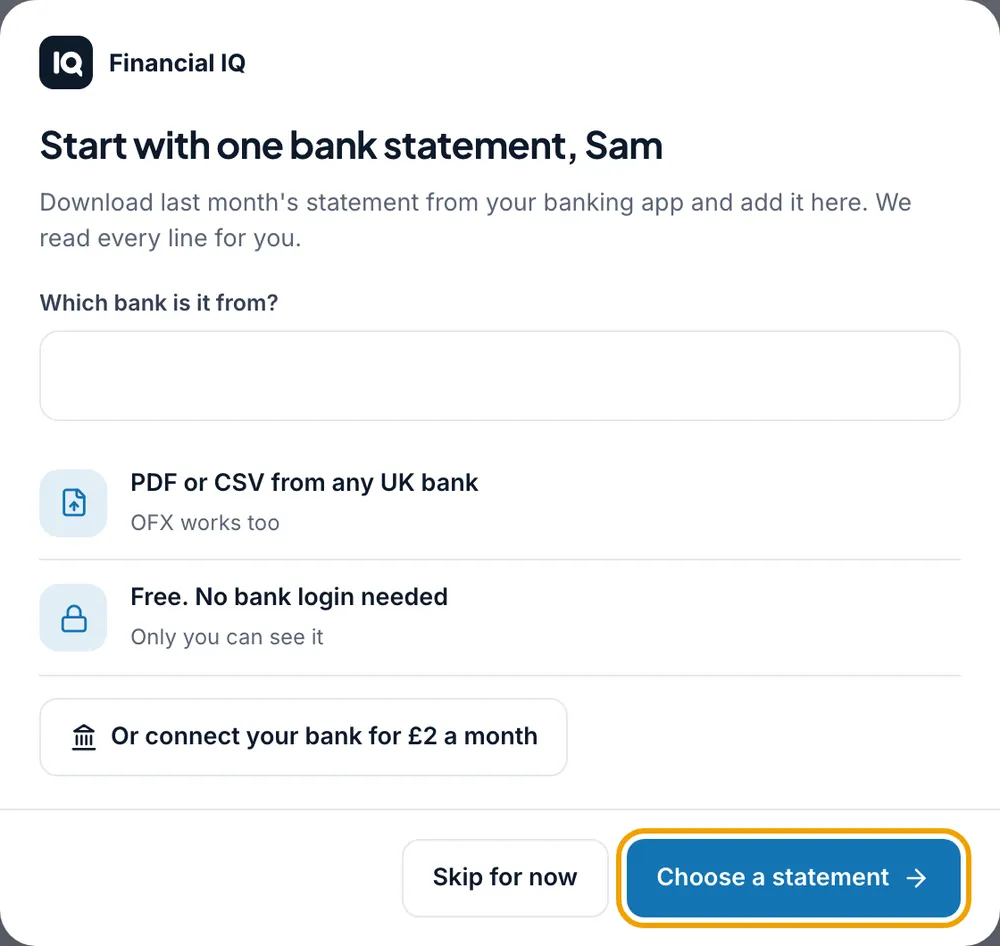
Download last month's statement from your banking app and press Choose a statement. It can be a PDF, CSV or OFX file. No bank login is needed and uploading a statement is free. You can leave the box asking which bank it is from empty.
Financial IQ reads the file and shows your month: what came in, what you spent, what you kept and where most of it went. If a payment of the same amount appears more than once, it is listed as a regular payment so you can check you still want it.
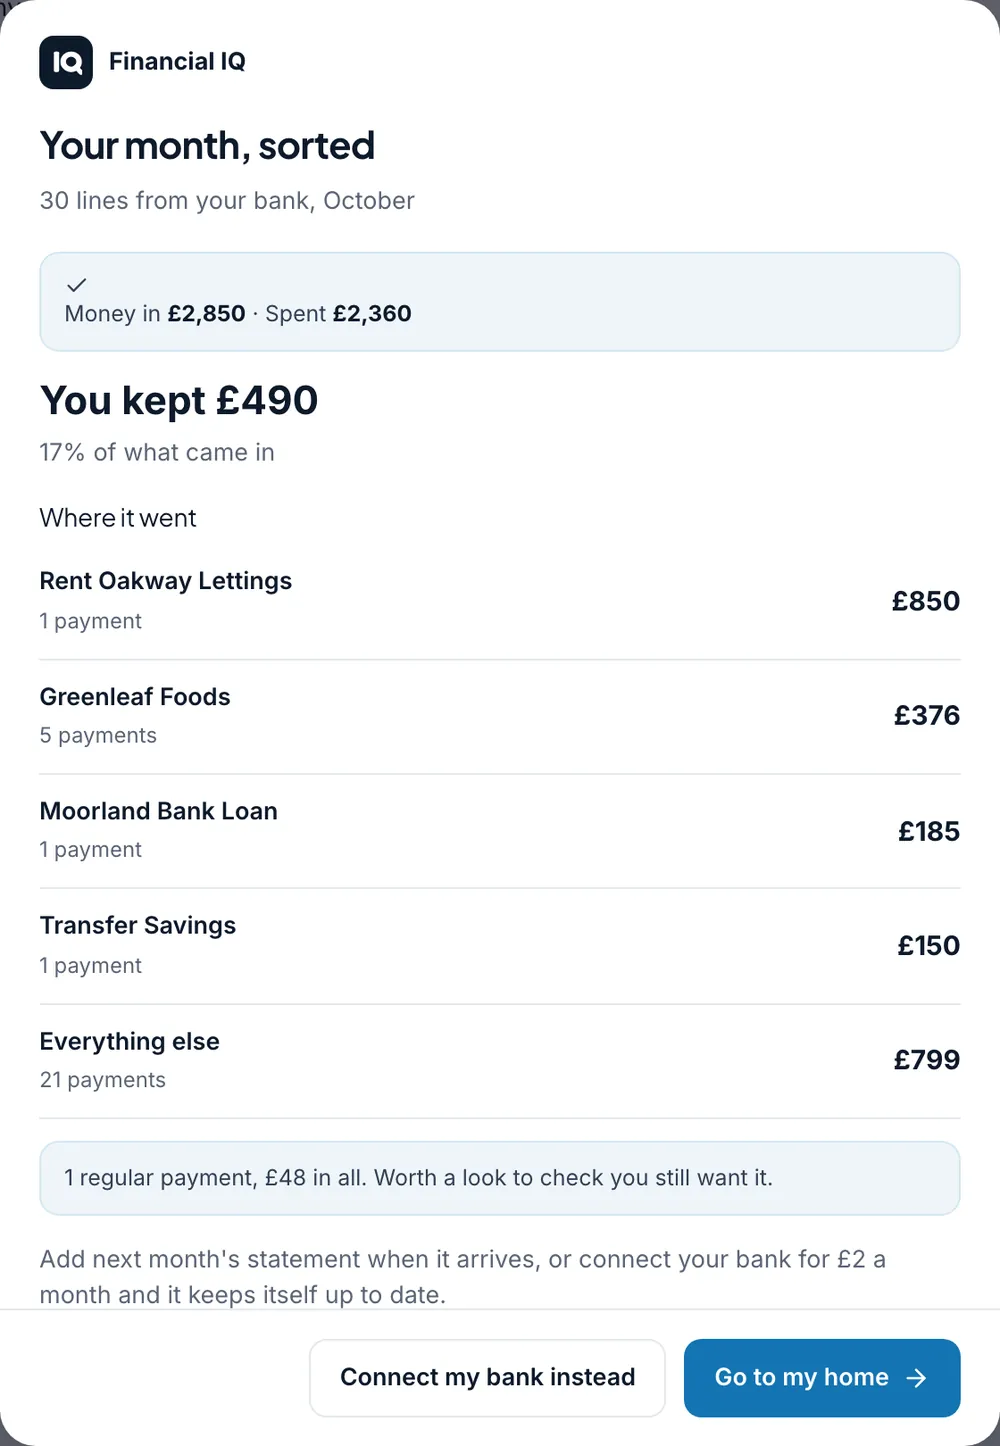
Press Go to my home to reach your Overview.
Add your income
Your Overview shows a Finish setting up panel with three steps. The app puts them at about 2, 4 and 4 minutes, so the 10 minutes covers these and not the statement. Press Get started, then Start with income.
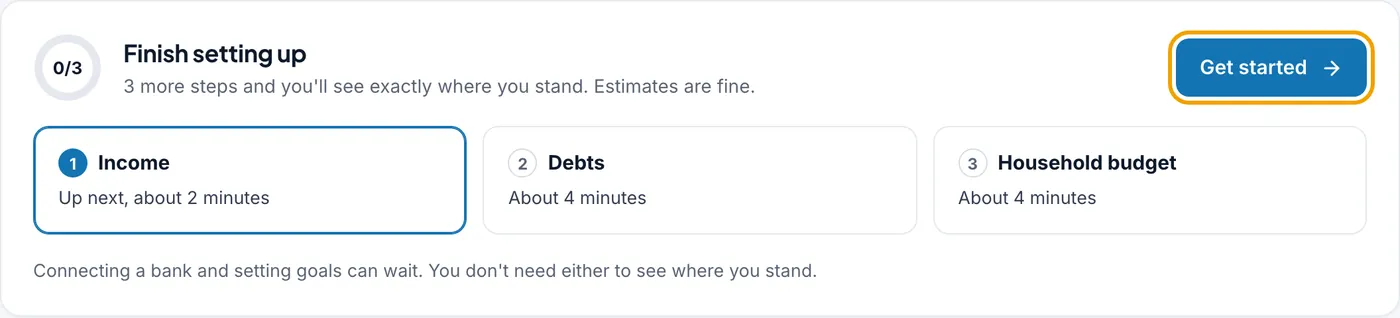
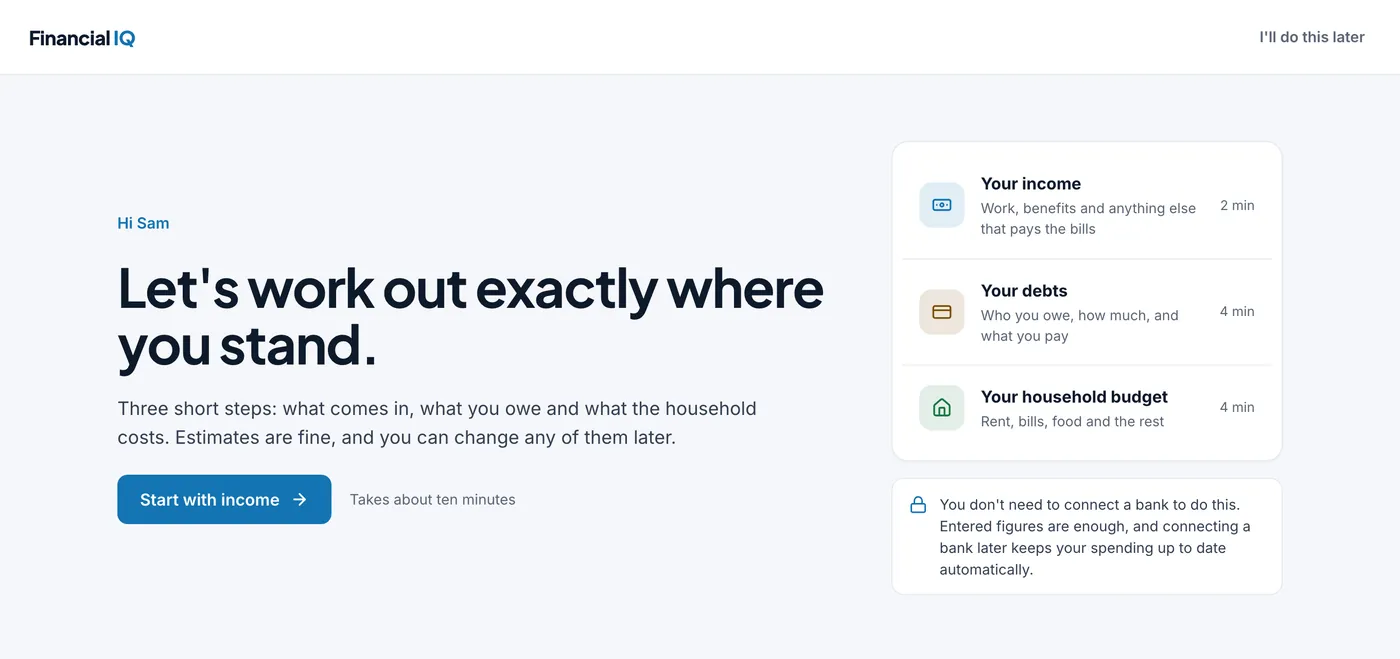
Choose the kind of income, such as wages, self-employed work, benefits, a pension or rent. Use Something else for anything not listed, such as dividends. Enter the take-home figure after tax. Estimates are fine and you can change them later.
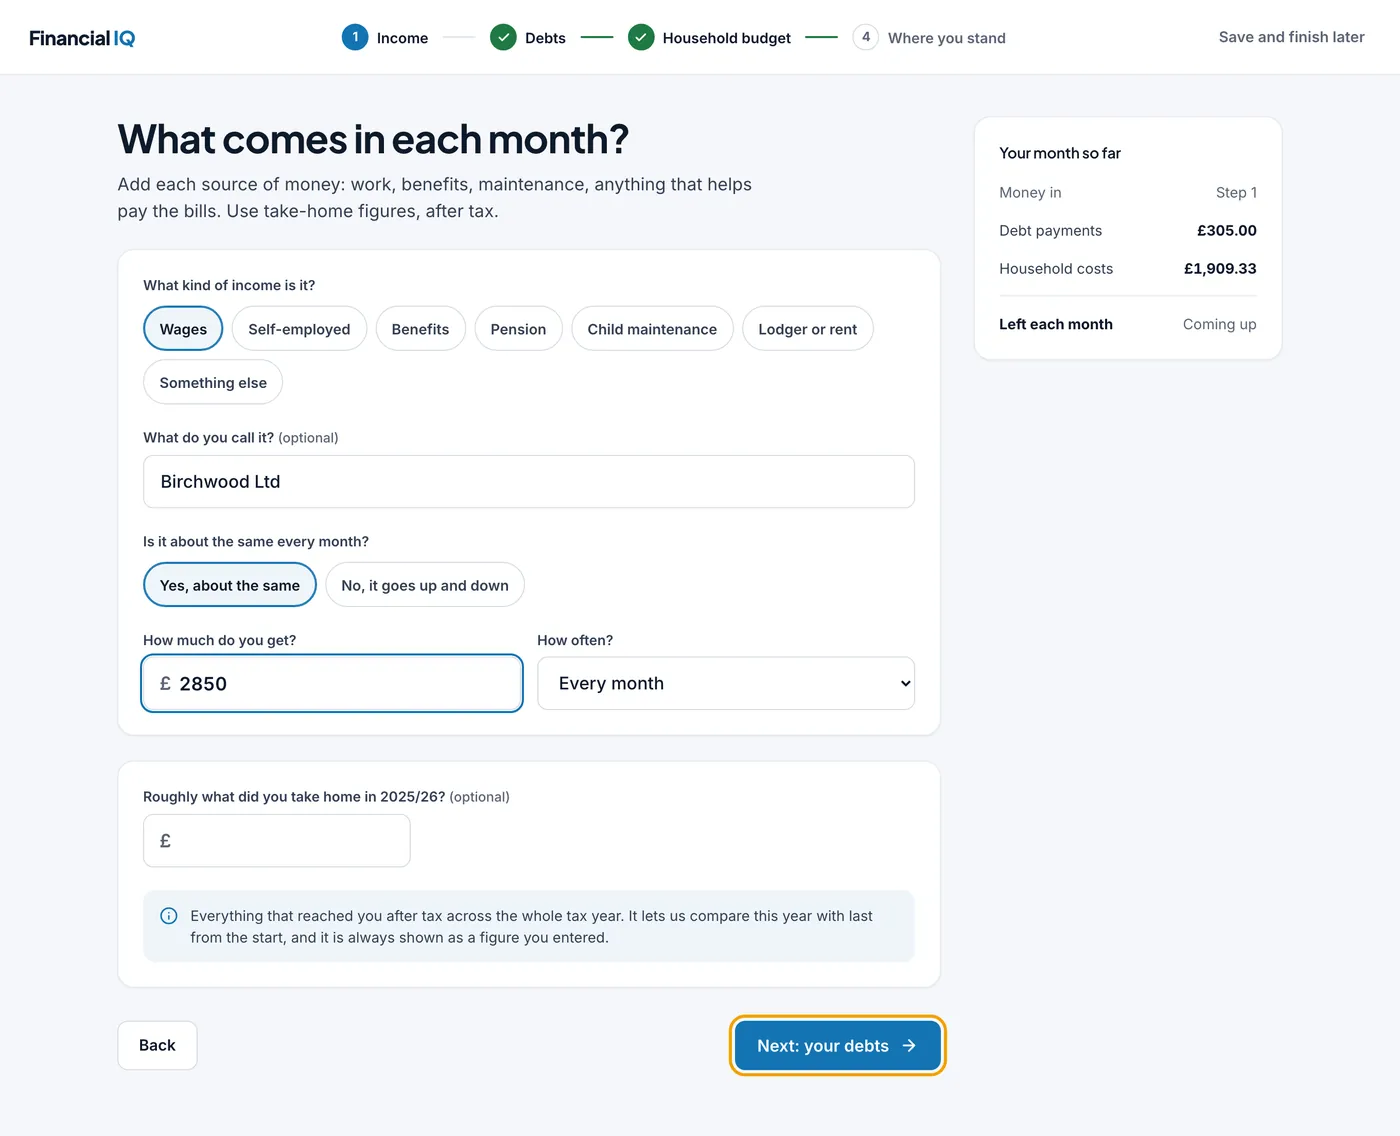
If your income changes from month to month, say so and enter a normal month and a quiet month instead.
Add your debts
Add each card, loan or overdraft, along with anything else you owe. Enter who it is owed to, how much is owed, what you pay each month and whether you are behind. The interest rate is optional. Press Add this debt after each one, or I don't have any debts if there are none.
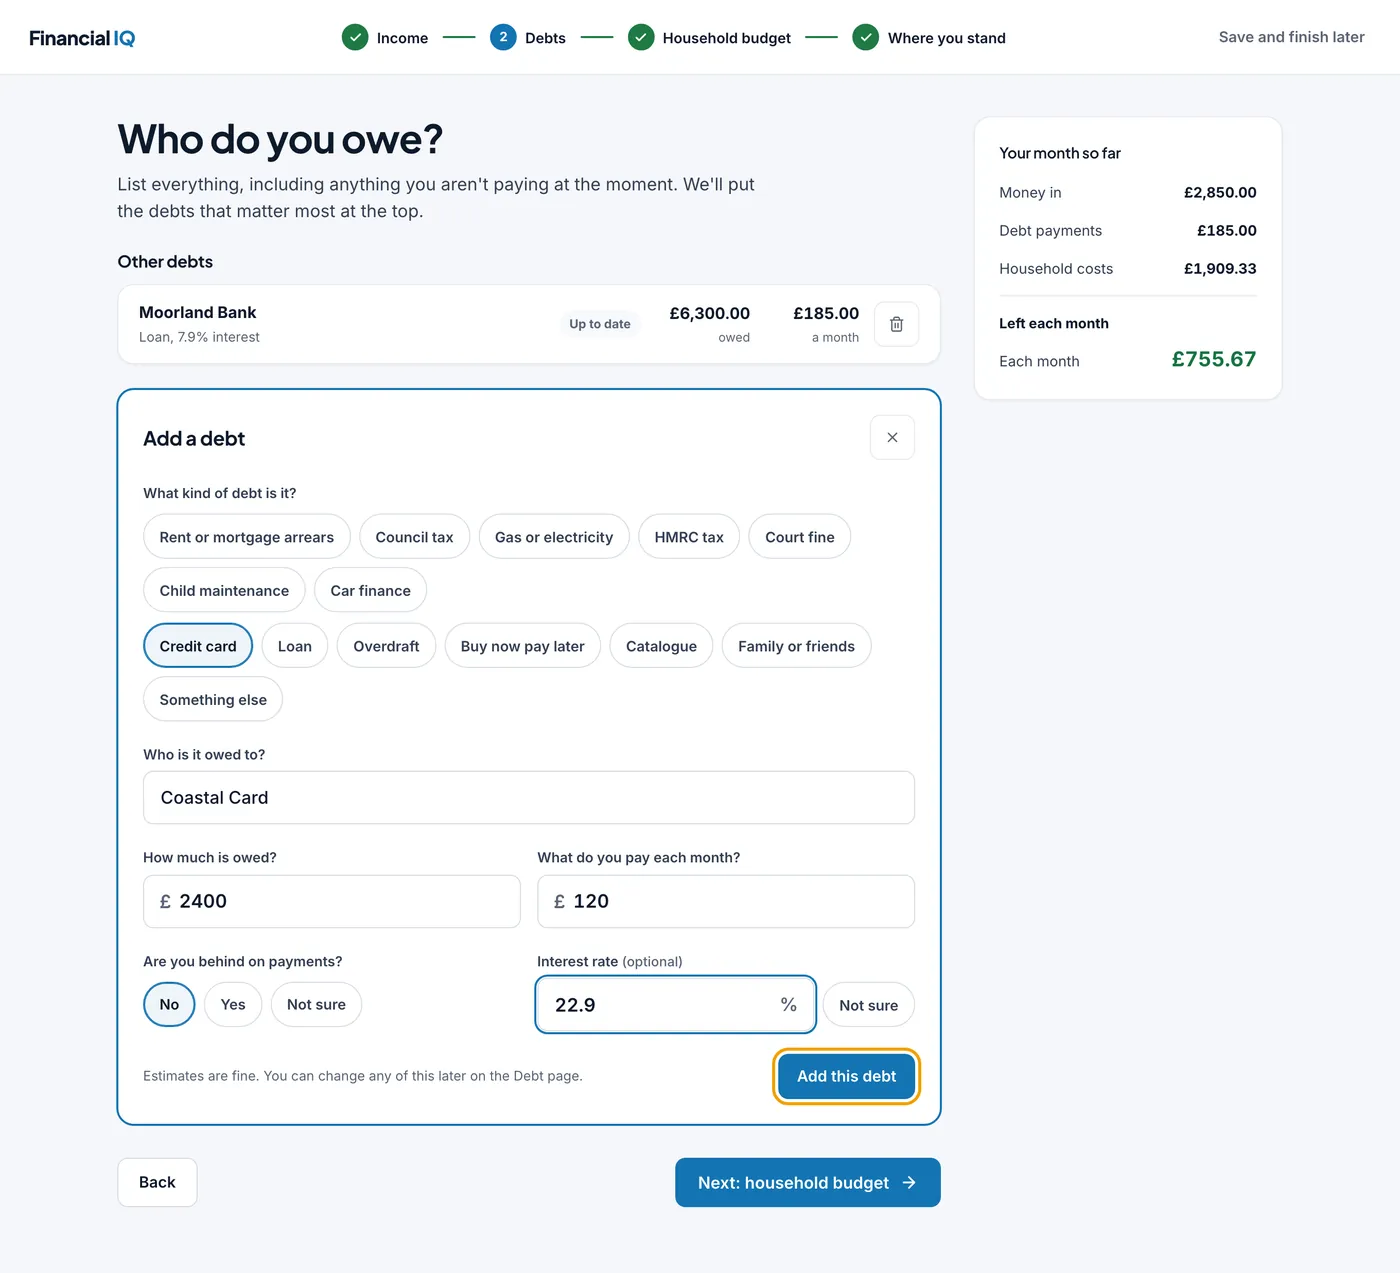
There is no mortgage choice in this step. Put your mortgage or rent payment in the household budget in step 5. To track the mortgage balance as well, use Add a debt on the Debt page later and leave the payment out of the budget so it isn't counted twice.
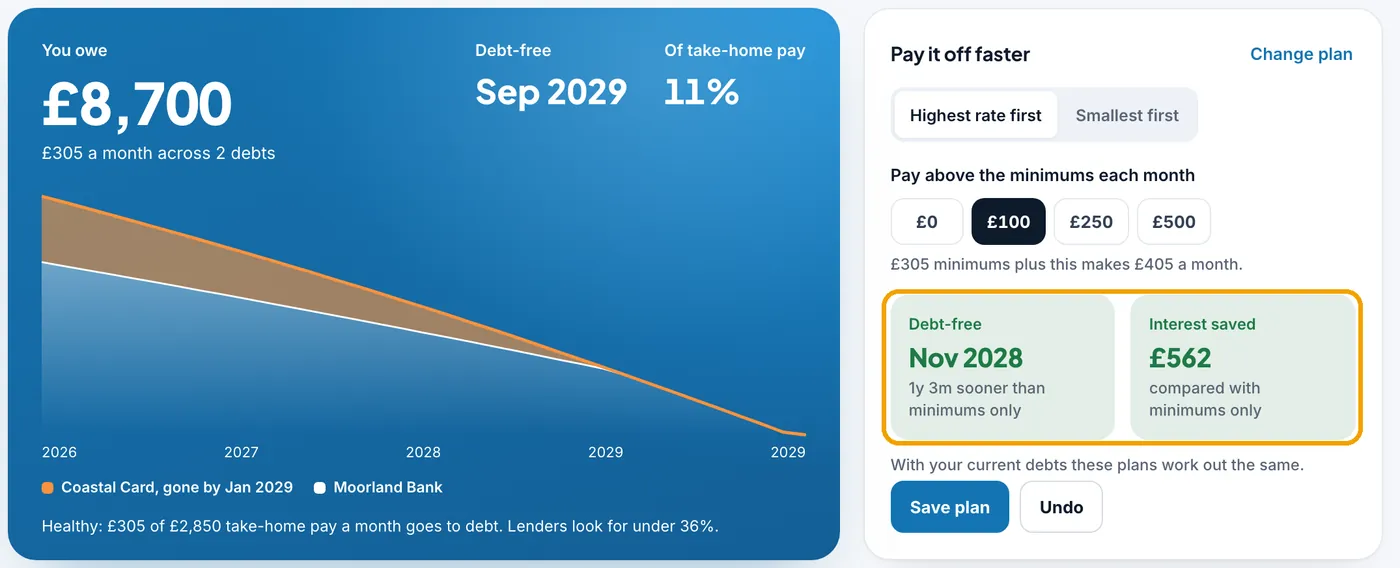
Press Next: household budget to carry on. When you have finished the set-up, open Debt under Plan in the left-hand menu to see your payoff plan. It shows the month you could be clear of the debts in the plan if the balances, rates and payments you entered hold. Choose an extra monthly amount and it shows what that could save.
Set your household budget
Add what the household costs, including your rent or mortgage payment. Each line can be entered by the week, month or year and Financial IQ works out the monthly figure. Press Doesn't apply on anything you don't pay, then See where I stand.
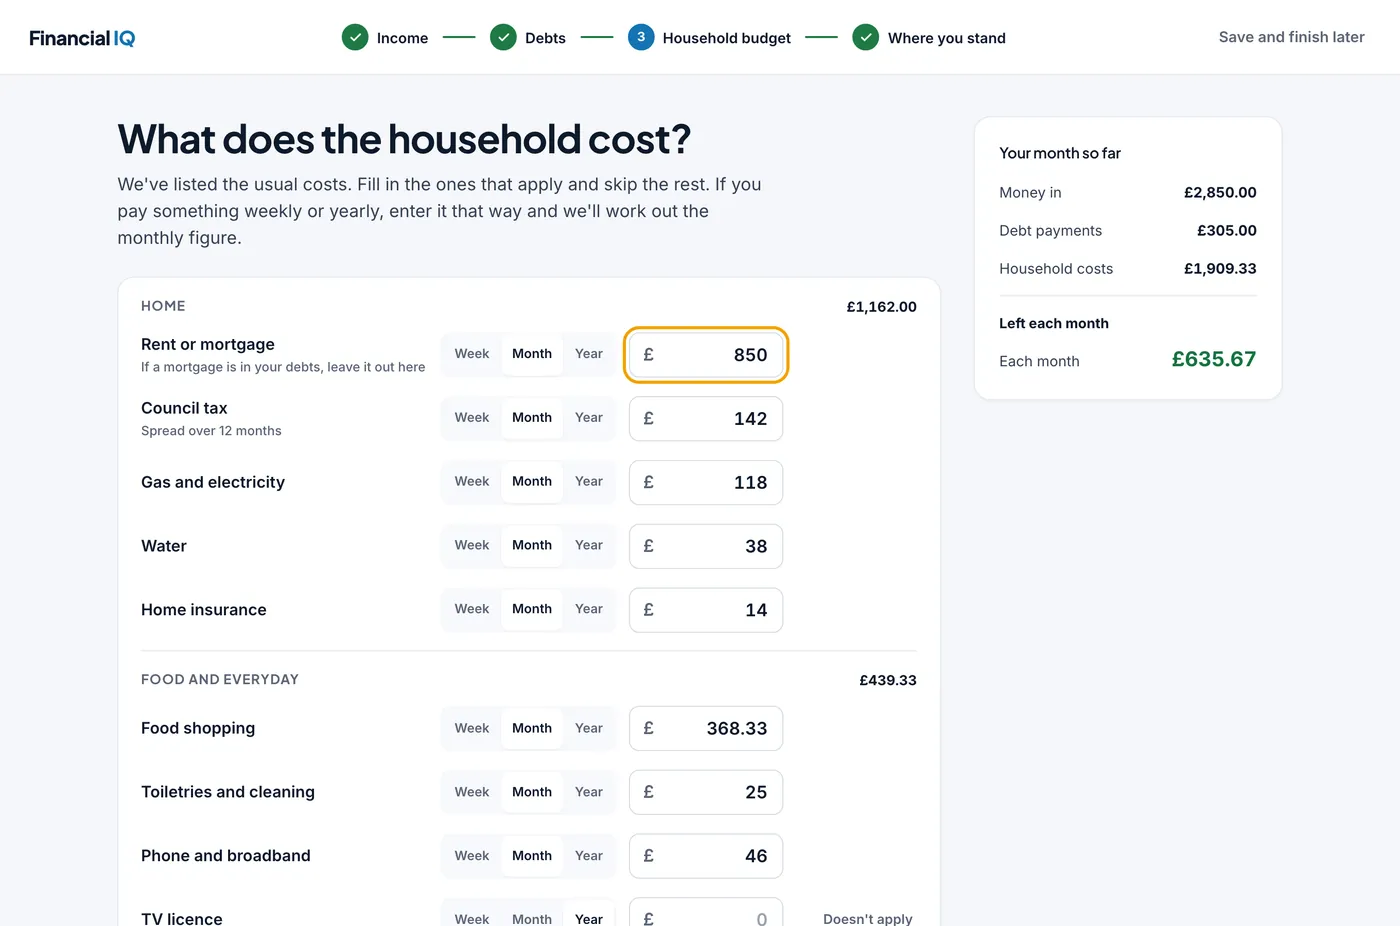
You then see what comes in, what goes out and what is left each month from the figures you entered.
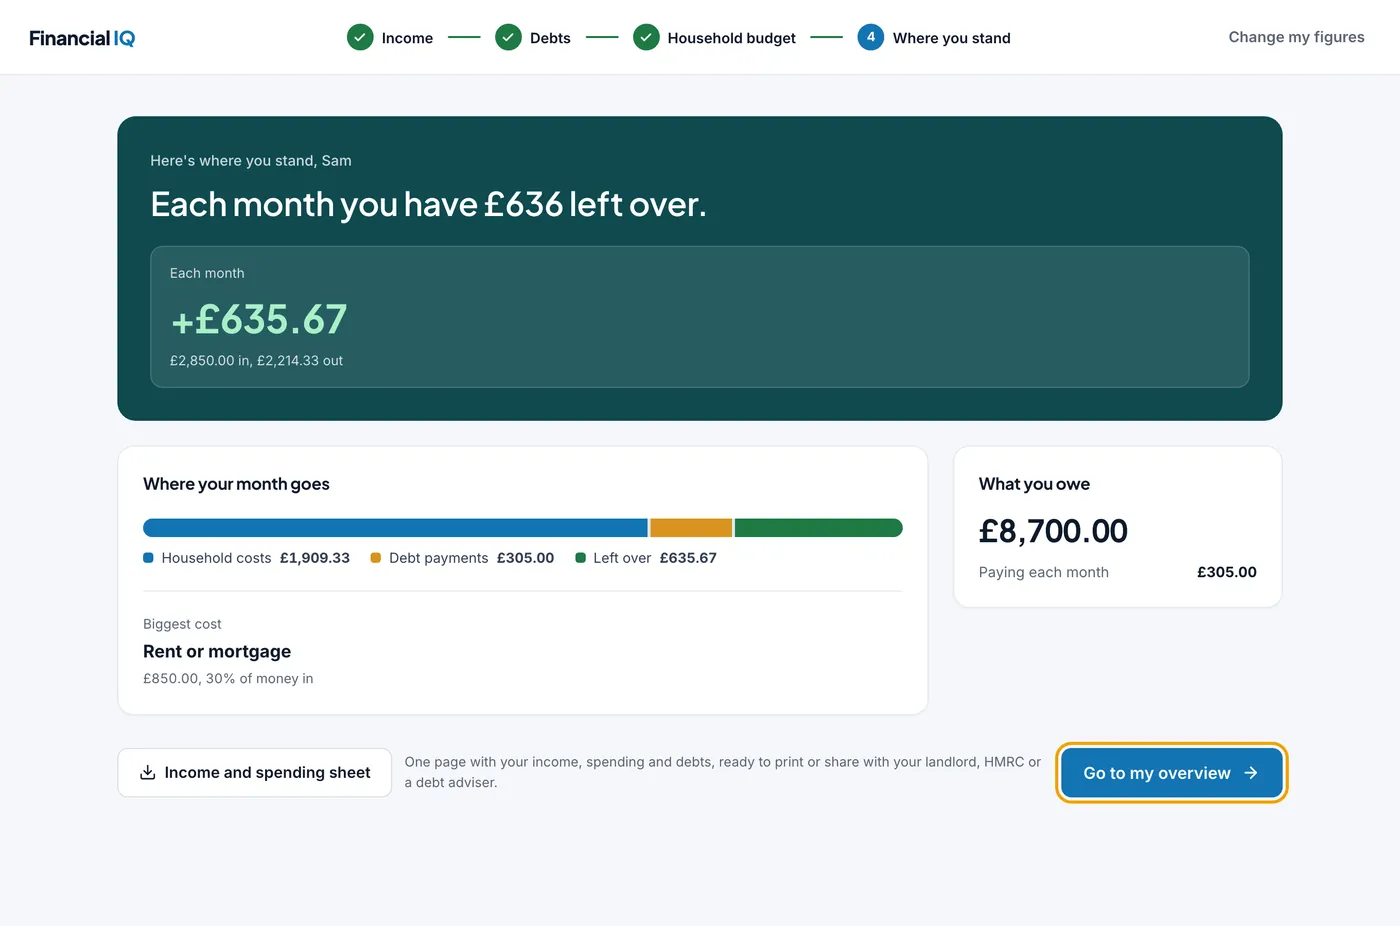
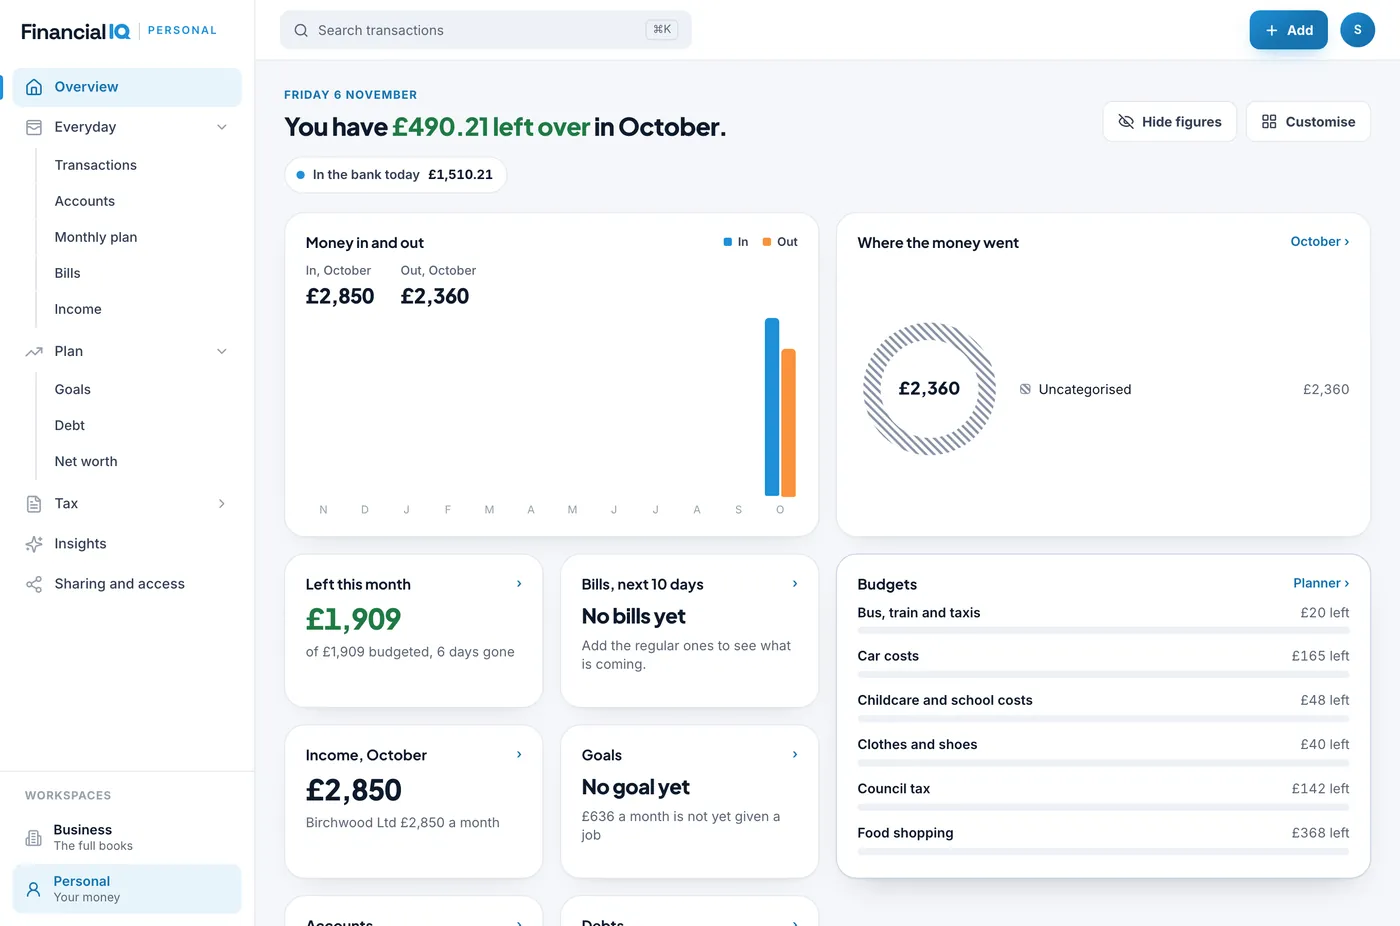
Press Go to my overview. The headline there comes from your statement, so it can differ from the monthly figure above. In the example, October's statement left £490.21 while the budget leaves £636 a month. Where the money went may show as Uncategorised until the lines have categories.
Use it each month
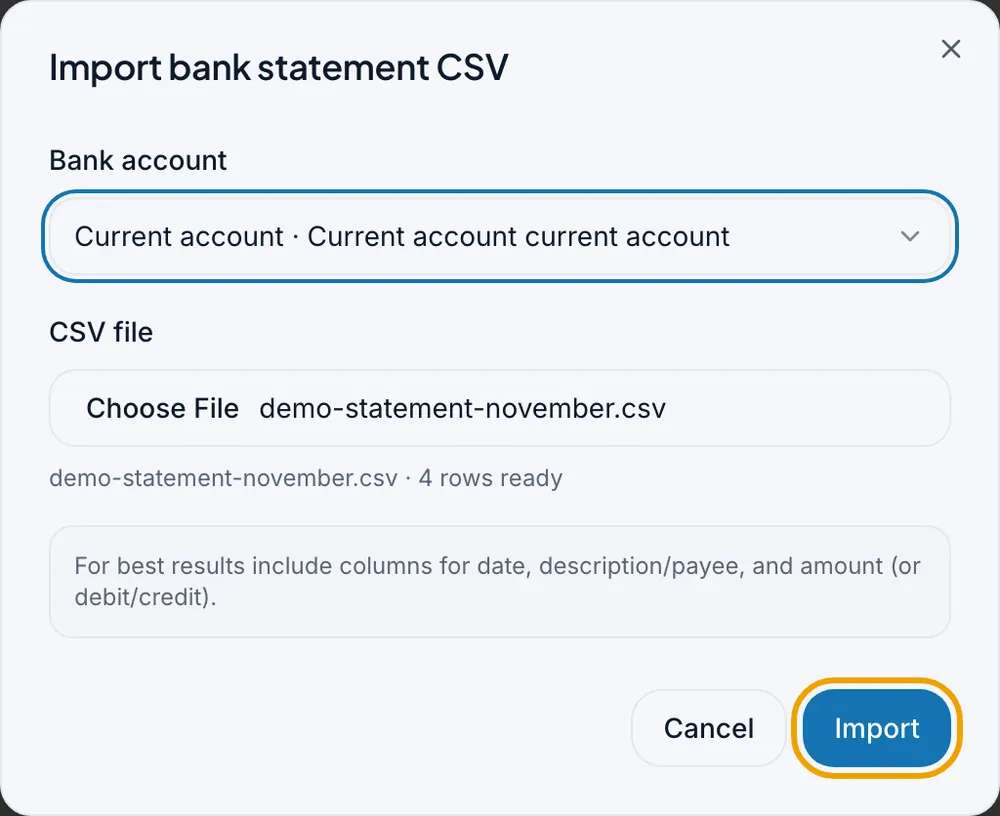
When your next statement arrives, download it as a CSV file. Open Transactions in the left-hand menu and press Upload CSV. Choose the account and press Import. This button takes CSV files only.

If you would rather not upload statements, connect your bank for £2/month and it keeps itself up to date. Uploading statements stays free.
The left-hand menu has the rest. Keep track of your bills under Bills. Set more than one savings goal under Goals and see whether you are on pace. See an estimate of how much to put aside for tax under Self Assessment, which is marked beta. Check whether your net worth is growing under Net worth.
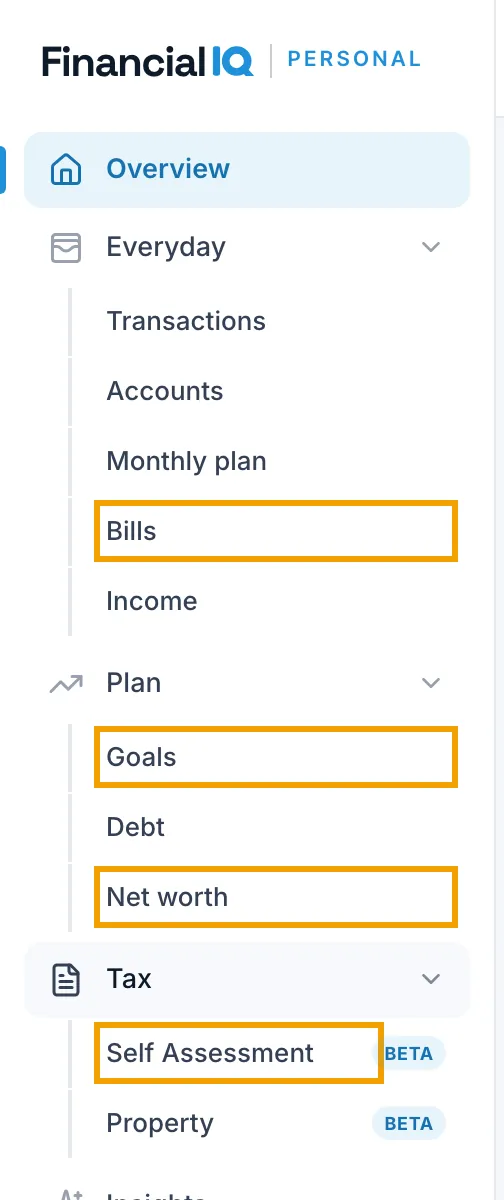
On a phone, the same pages are behind More at the bottom of the screen.
Common questions
Yes. Personal costs nothing and statement uploads are free. You only pay if you add something extra, such as a bank feed at £2/month. See our pricing.
No. You can use Personal with uploaded statements and the figures you enter.
Try the PDF or CSV from your bank's app. If Financial IQ can't find any transactions in the file it tells you and nothing is added.
Yes. Estimates are fine at the start. Change your figures any time from Income, Debt or Monthly plan in the left-hand menu.
Workspaces shows if you created your own account or you are a client of an accountancy firm on Financial IQ. If you were invited some other way, ask us through support to switch Personal on.
Yes. Each step saves as you go. Press Save and finish later and the Finish setting up panel on your Overview picks up where you stopped.
What this doesn’t cover
- Connecting a bank feed
- Sorting transactions into categories
- Filing a Self Assessment tax return
- Sharing your figures with a partner or an accountant
Next step: see what else Financial IQ Personal does